

When prospects engage with Qualified Meetings, they’ll see some information about who they’re meeting with - their name, job title, and profile photo. Once you’re added as a Qualified Meetings user, you’ll want to make sure that you’ve filled out your profile so that all of this information displays correctly!
To set up your profile, Click on your User Icon in the lower left, then click Profile and follow the steps below:
Upload a photo
Upload a professional photo of yourself so website visitors can see who they are booking a meeting with.
- Click the pencil icon.
- Click Select File.
- Choose a JPG or PNG image.
- Click Done.
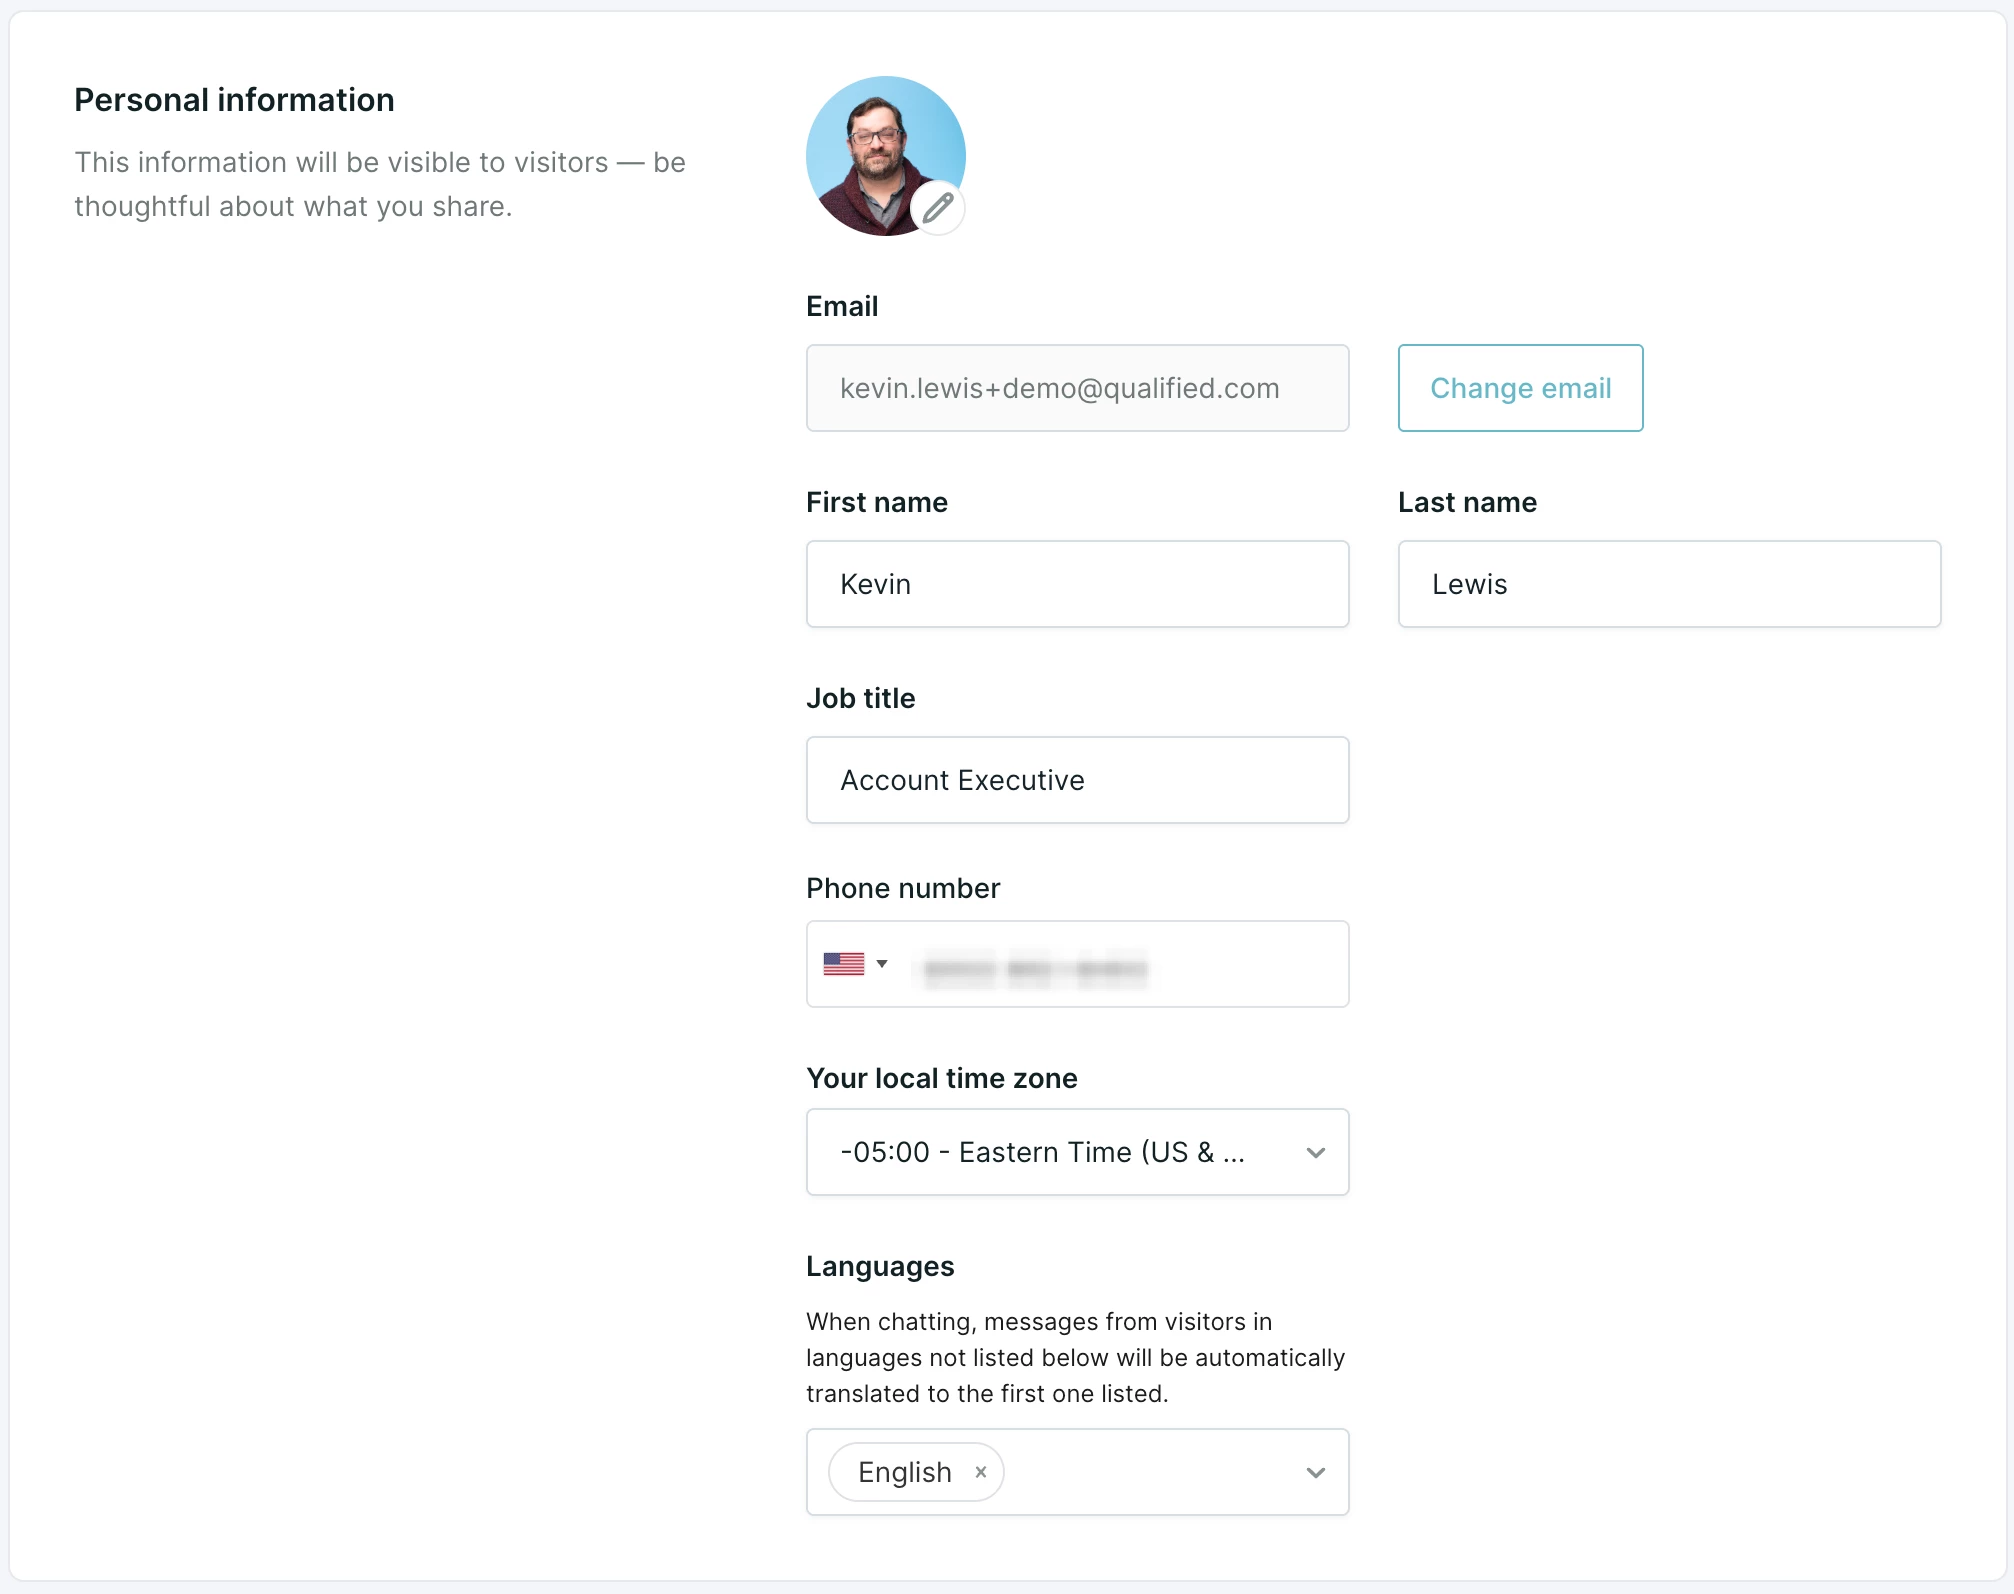
Add your name and job title
Add your First name and Last name, and also add your Job title. All of these will be visible to prospects, so be thoughtful about what you share.
You may see a prompt to enter your Phone Number as well. You can ignore this - while conversations users can opt to have voice calls via their work phones, meeting users’ phone numbers are not used anywhere in-app.
Select your local time zone
Select your local time zone in your Qualified profile. Make sure it matches your time zone set in your Google or Outlook calendar and Salesforce.
Select your language
If an email or meeting confirmation comes to you via Qualified in a language other than the language(s) selected here, it will automatically be translated into the first language listed here.


.svg)


