


Each time a Pardot prospect lands on one of your website pages that is running the Qualified Javascript snippet, Qualified pulls in the prospect’s data so that your sales team can see the Pardot data for the prospect who is on your site within the Qualified app.
With Dynamic Content
Create the Dynamic Content in Pardot
- Navigate to the Account Engagement Console in Salesforce

- Select Content

- In the left menu, select Dynamic Content and then press the blue Add Dynamic Content

- Paste the following block into the Default Content field:
*QUALIFIED*%%email%%*QUALIFIED*
If you have upgraded your Pardot account to use Handlebars Merge Language, use {{Recipient.Email}} in place of %%email%%
- Press Save
Verify that the Dynamic Content is set up successfully
- As an Admin in Qualified, go to Settings → Integrations → Pardot → Connection.
- Scroll to the Prospect Tracking section of Pardot Settings and click Verify Prospect Tracking.

- If your setup was successful, you'll see the message: Prospect tracking is configured.

Without Dynamic Content
Create a campaign for website tracking
Connected Campaigns between Salesforce and Pardot were introduced with the Winter 2019 Salesforce release and all Pardot orgs created since the Winter 2020 Salesforce release have them turned on by default. If you do not have Connected Campaigns enabled, consider reviewing their setup and advantages.
- Access the Campaigns tab from a tab in a Salesforce app or directly from the Salesforce App Launcher.

Note that to create a campaign, a user must have the Marketing User permission selected on their user record.

- Click New on the Campaign page to create a Pardot campaign for tracking your website activity.

- Enter the name of the campaign, like “Website Tracking Campaign,” mark it active, select a type, and a status. Click Save.

The campaign will automatically sync to create a Pardot Campaign if you have Connected Campaigns set up, but it can take several minutes for the sync to complete.
Copy the campaign tracking code (Javascript)
- Use the App launcher to select Account Engagement
- In the top menu, select Account Engagement Settings
- From the Account Engagement Settings menu, select Domain Management
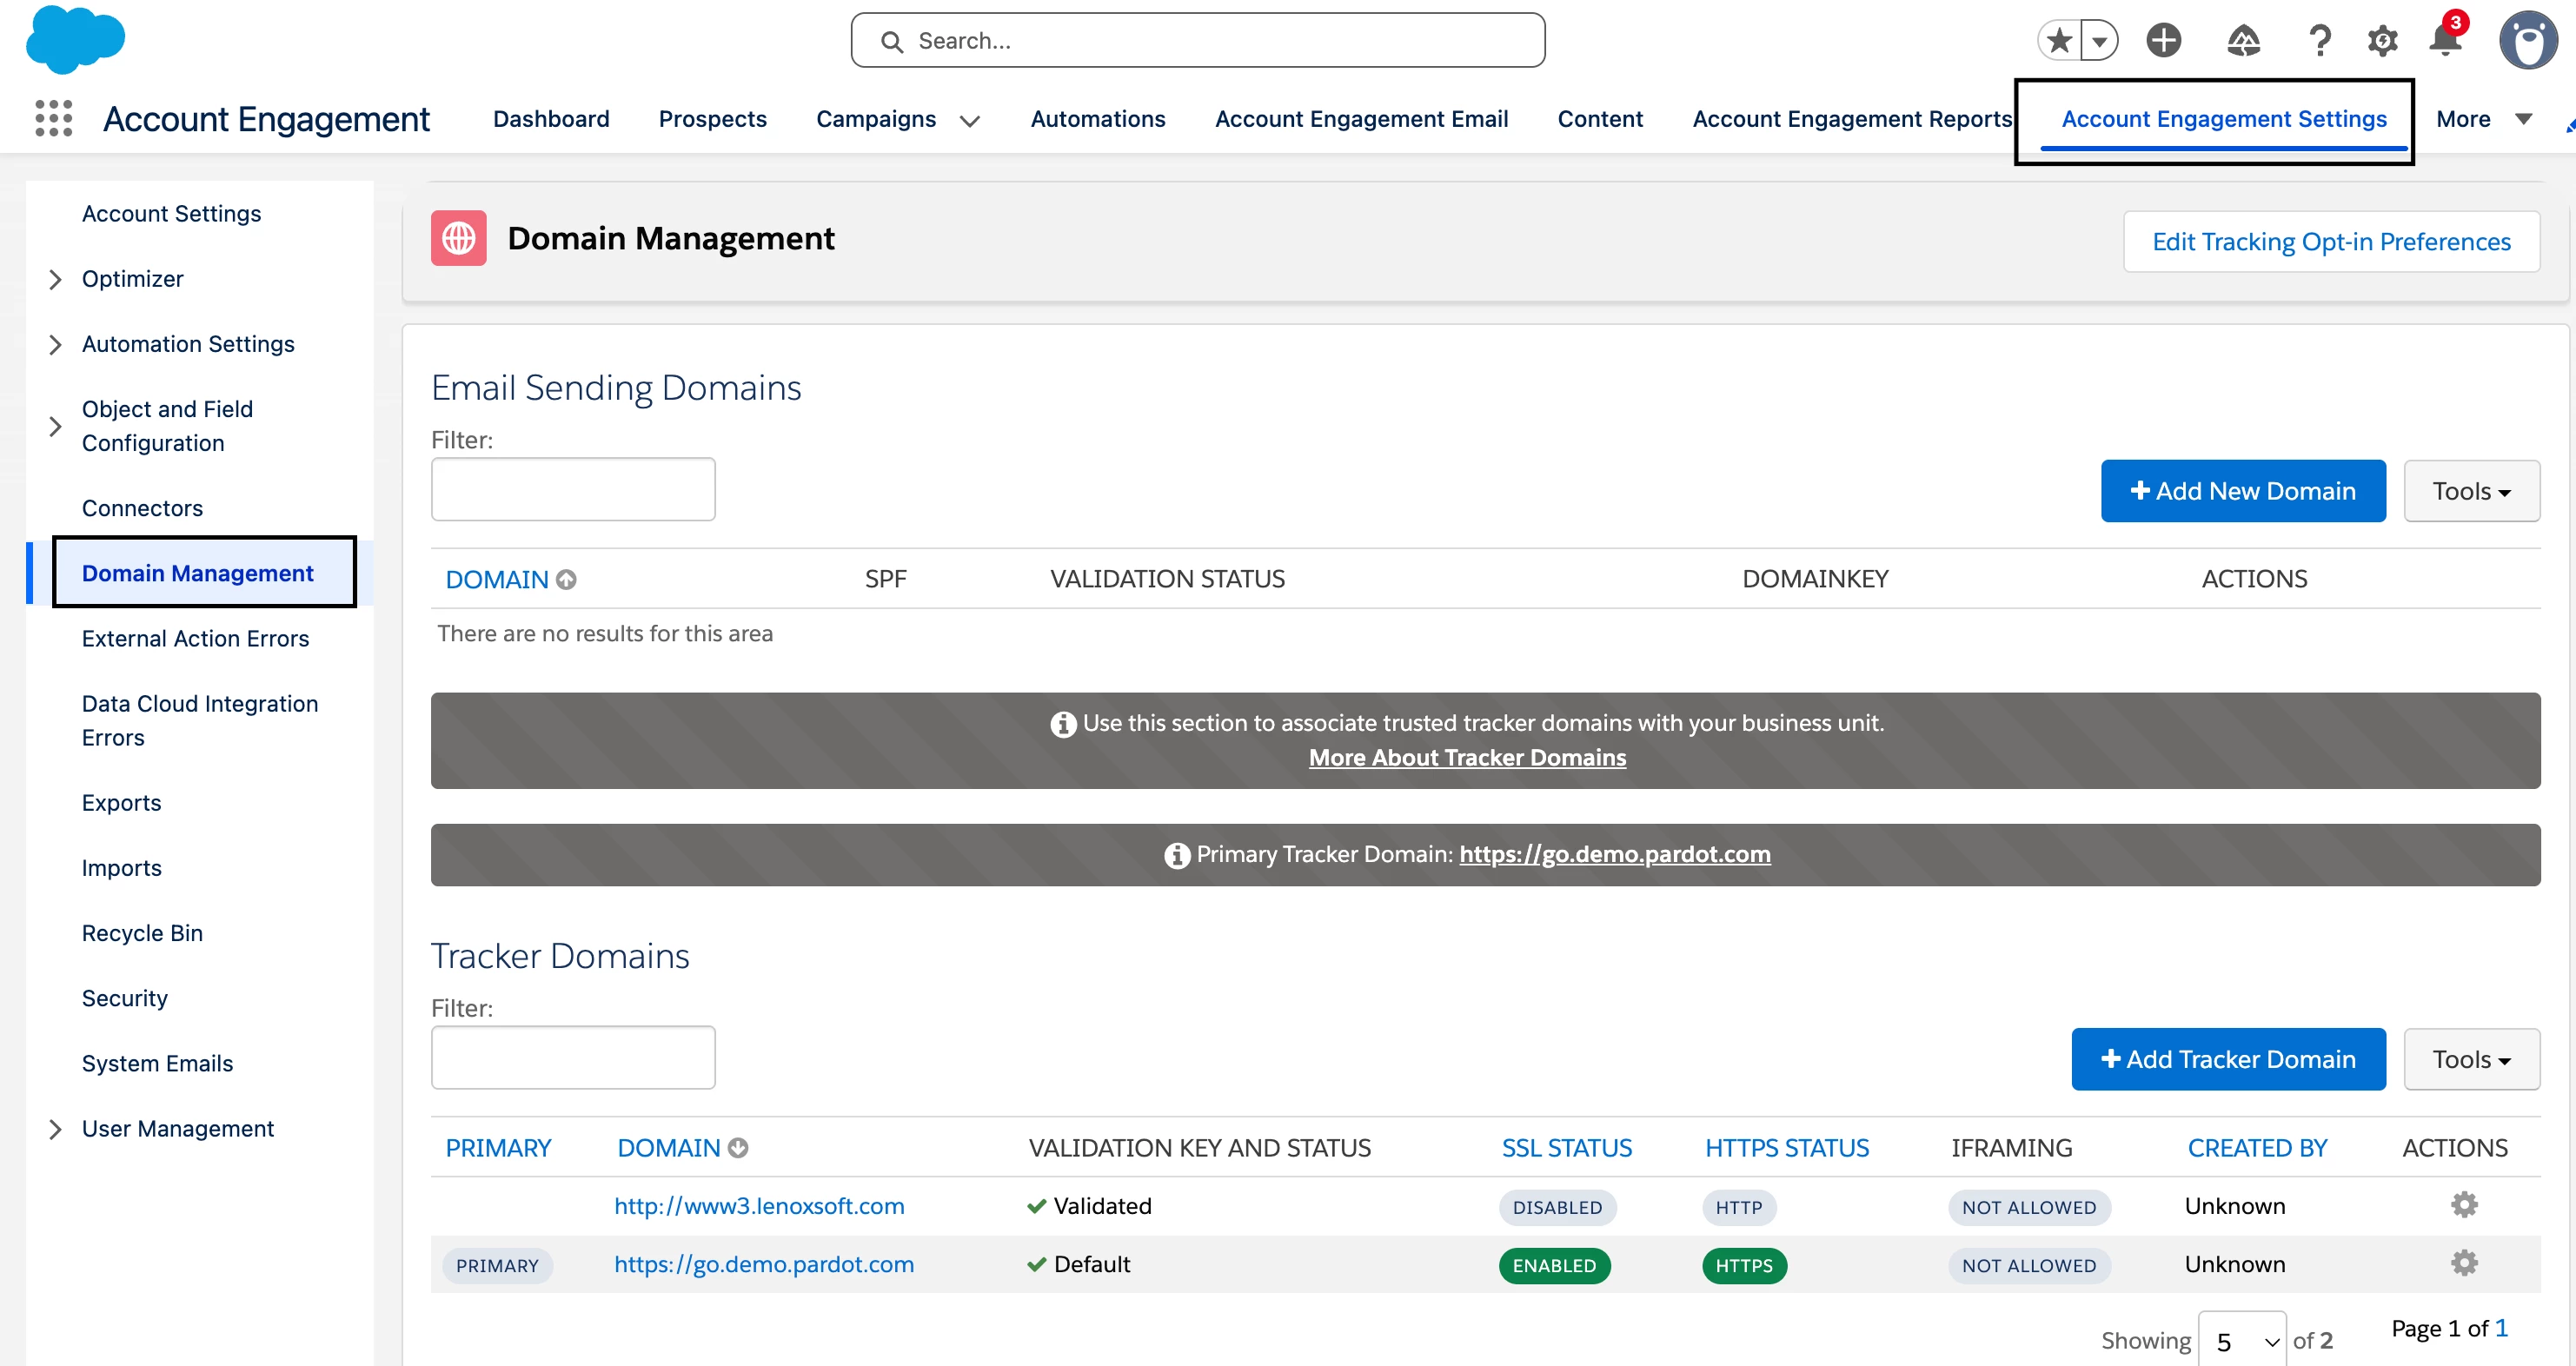
- Scroll to the Tracking Code Generator
- From the Tracking Code Generator, next to Override Default Campaign, select the campaign you previously created.
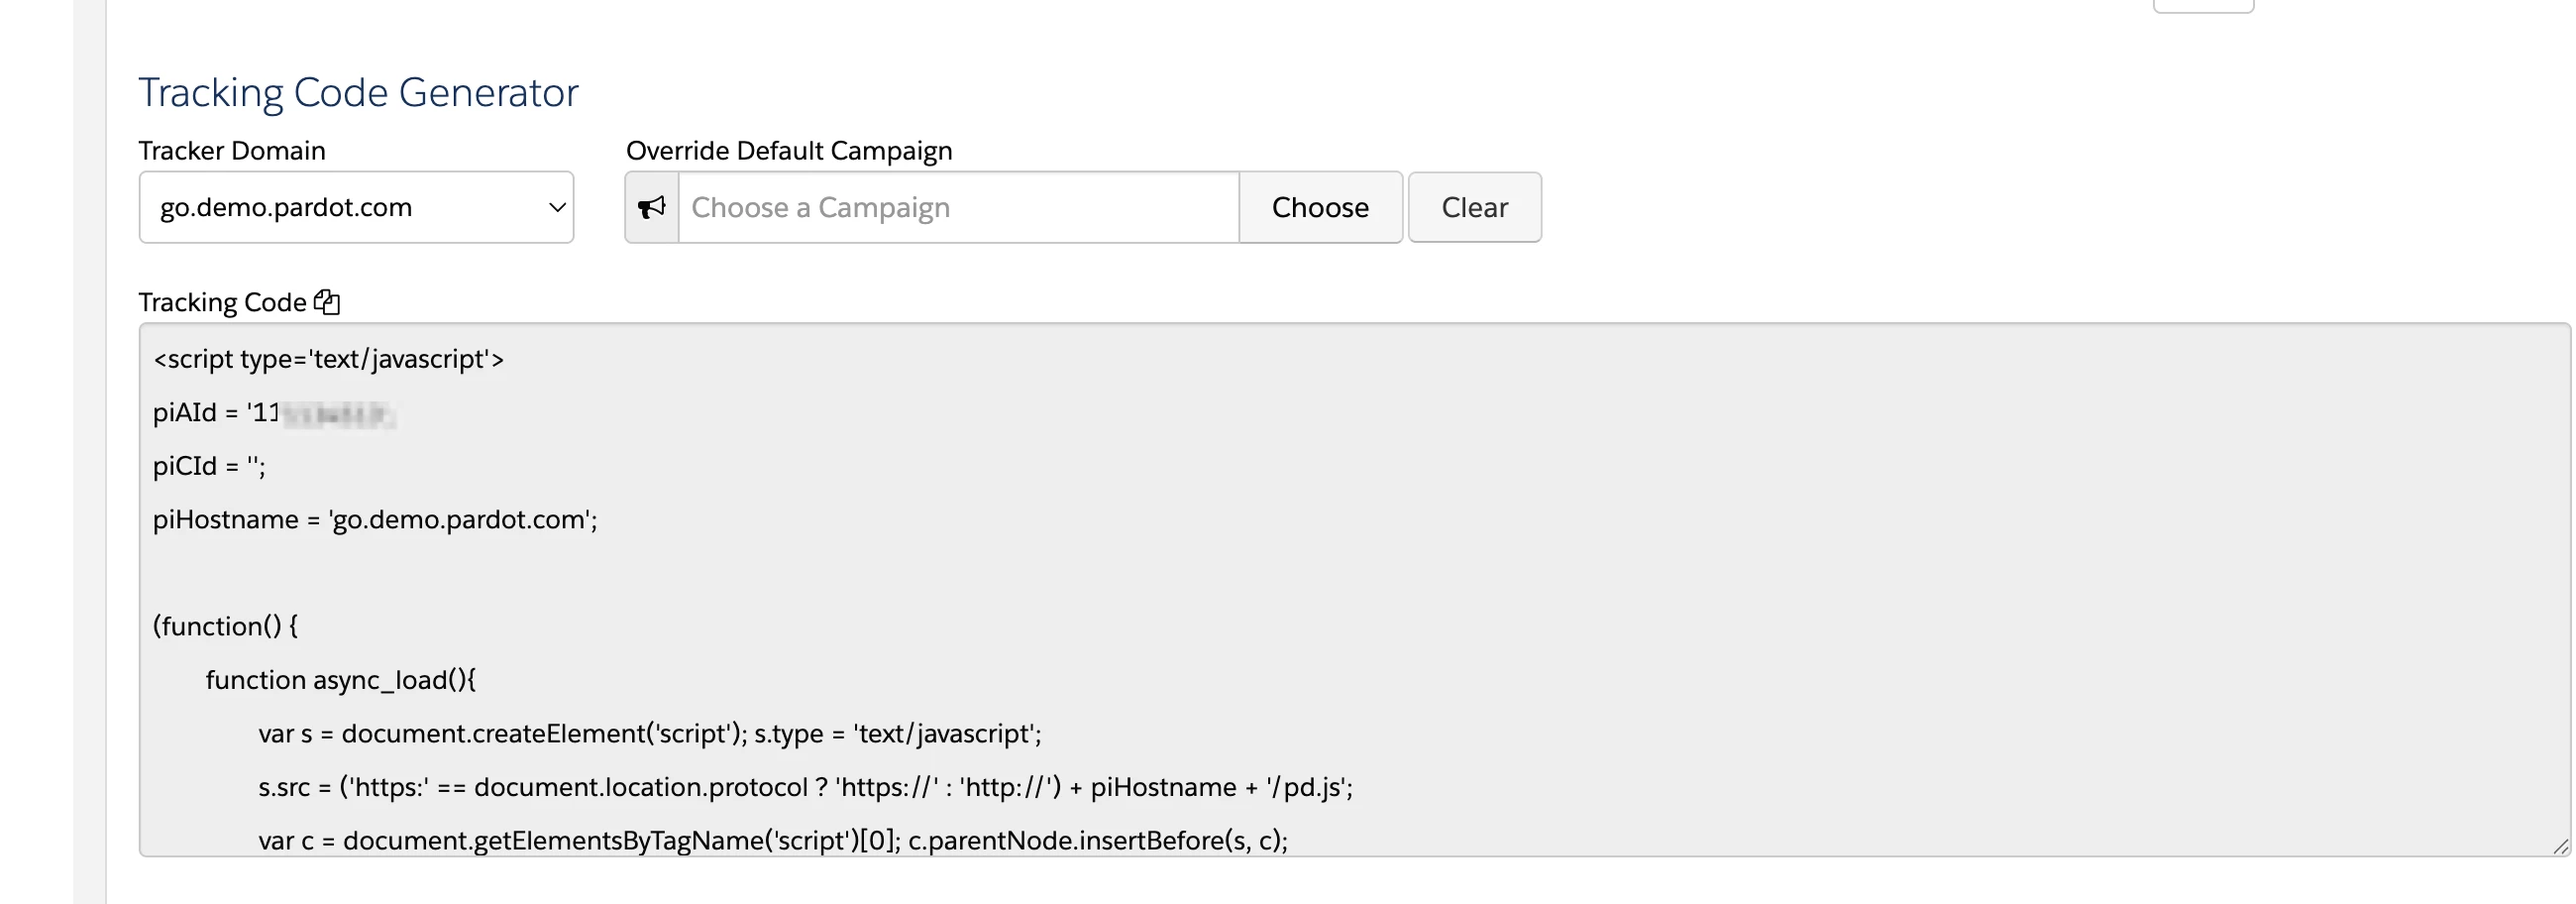
- Copy the tracking code and save it for the next step, below.
Place the campaign tracking code on your site
The tracking code needs to be included in every page on your website where you want to track visitors with Qualified. To do this, paste the JavaScript snippet you copied into the HTML code of each page before the </body> tag.

Qualified users sometimes forget to include the Pardot tracking code (Javascript snippet) in a website page. If you are not seeing Pardot tracking results for a page, verify that the Pardot prospect tracking code has been included on that page.



.svg)


