


The Email sender plays a critical role in AI Email campaigns, ensuring emails are delivered, meetings are booked, and availability is synced. Without the correct permissions for sending emails and booking meetings, email campaigns cannot be saved or launched. Whether you're having your emails come from your AI SDR agent or on behalf of your sales team, this guide walks you through setting up the Email sender account and verifying permissions for seamless campaign execution.
Sending on behalf of your AI SDR agent
If you’re planning to send a high volume of emails on behalf of your AI SDR agent, we recommend setting up Qualified Mailbox. Learn more here.
- Navigate to Settings → Agent Studio → Agent Profile.
- Scroll to the Connected Accounts section.
- Click the "Connect" button next to the appropriate platform (Google or Microsoft) and follow the prompts to connect your AI SDR agent's email account
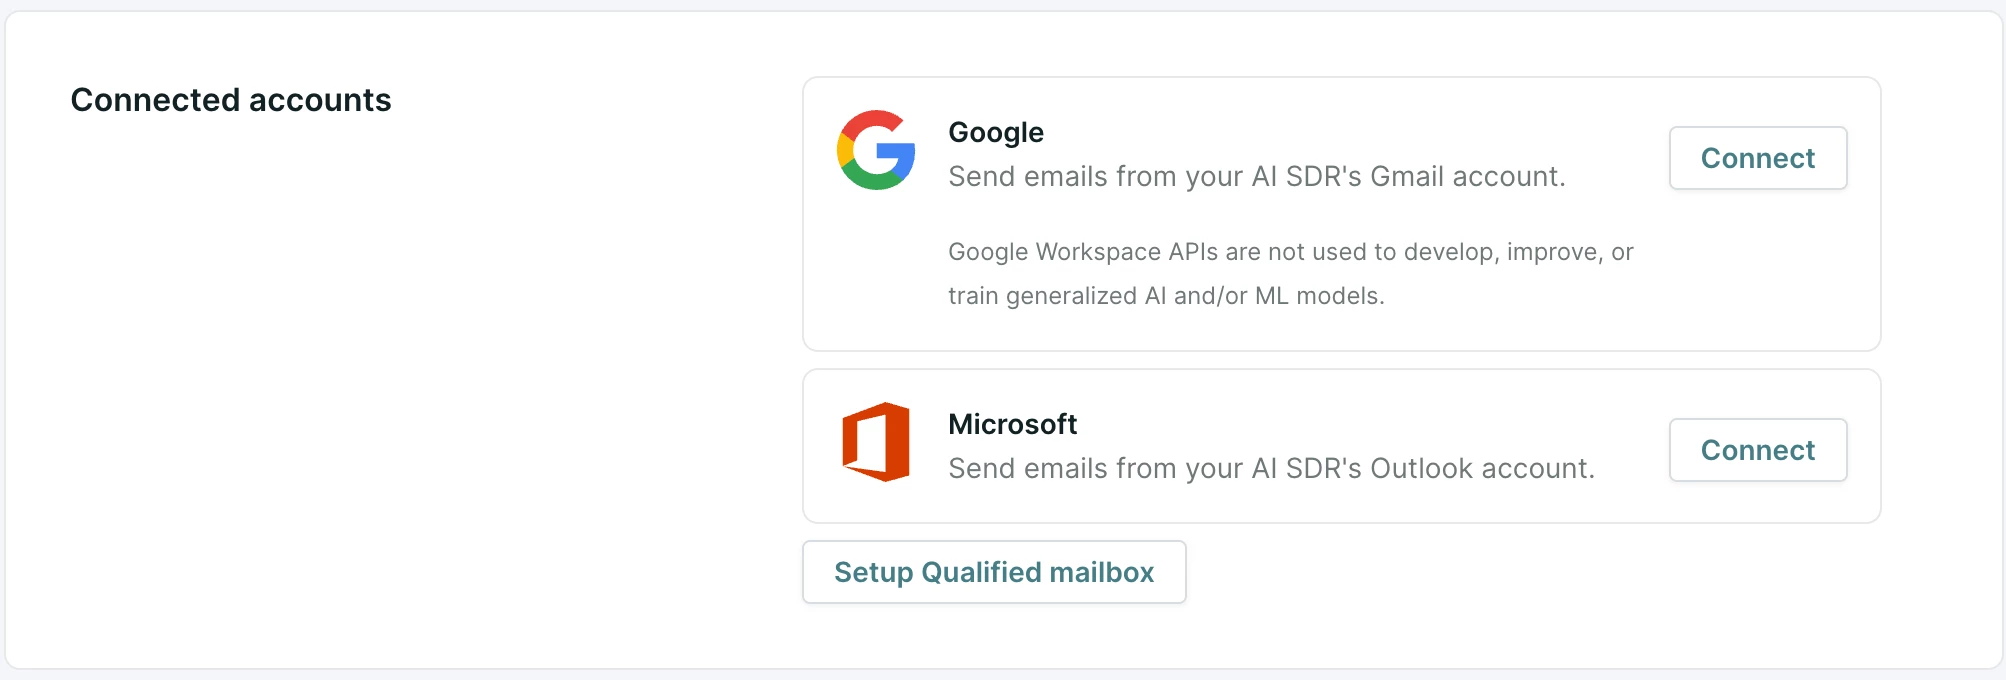
Please note that the email address connected for your AI SDR agent must be an email account, not an alias. Also, as Google uses the image for the Account when sending emails, please ensure that your AI SDR agent's account has a relevant image uploaded if you are using a Gmail account. Additionally, if you are using SSO to manage email access for your team, ensure that SSO is used for the AI SDR account as well.
Connecting or reconnecting the email sender account
- The Email sender will log into their Qualified account.
- Then, navigate to Settings → Me → Profile.
- Scroll down to the Connected Accounts section.
- Verify the Google or Microsoft account is connected with permissions to “Send emails, book meetings, and sync availability”.
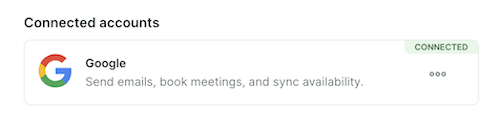
- If you are not connected yet, follow the prompts to connect your account.
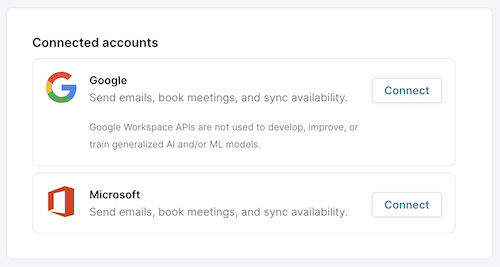
- If you are connected, but are missing email permissions, click on the three dots and select Reconnect to accept the new permissions.
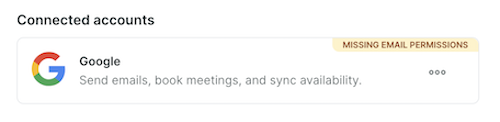
If you have reconnected and are still seeing the “Missing Email Permissions” error, reach out to your Qualified Success Architect or help@qualified.com for further assistance.
Verifying user connections
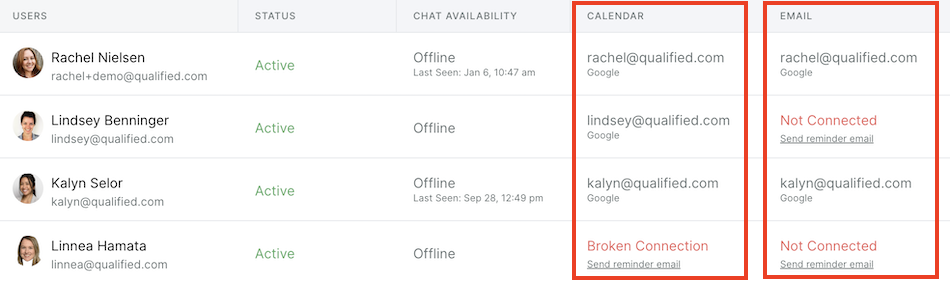
As a Qualified admin, you can view the status of your users’ Google or Microsoft connection, and send reminder emails to users who have not connected or have a broken connection.
- In Qualified, go to Settings → Organization → Users.
- Within the user table, find the Calendar and Email columns to view the user’s connection status.
- If the status is Not Connected or Broken Connection, click the “Send reminder email” link to remind the user to connect, or reconnect, in order to authorize both calendar and email permissions.



.svg)


