


Qualified requires a few basic technical setup steps to be enabled on your website, including:
Qualified JavaScript snippet
The JavaScript snippet is a small piece of code that recognizes visitors, communicates to the Qualified application, and takes appropriate actions. When you initially add the Qualified JavaScript to your site, there's no visible change on your website. After the JavaScript is installed, create and activate your experiences for the Qualified messenger to appear.
Installing the Javascript
To find the JavaScript snippet for your organization, navigate to Settings → App Settings → Setup.
It's important to note that each JavaScript snippet has a token that is unique to your account. The snippet looks like this:
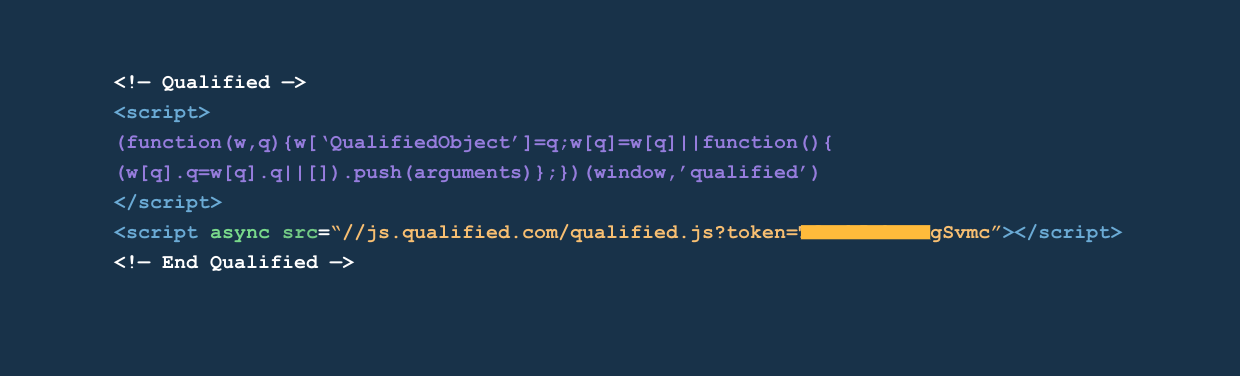
For Single Page Application (SPA) websites - If your website is a Single Page Application, you will need to add this extra line of code whenever a new "page" is loaded (usually referred to as a route transition or navigation).
qualified("page");
Pages to place the snippet on
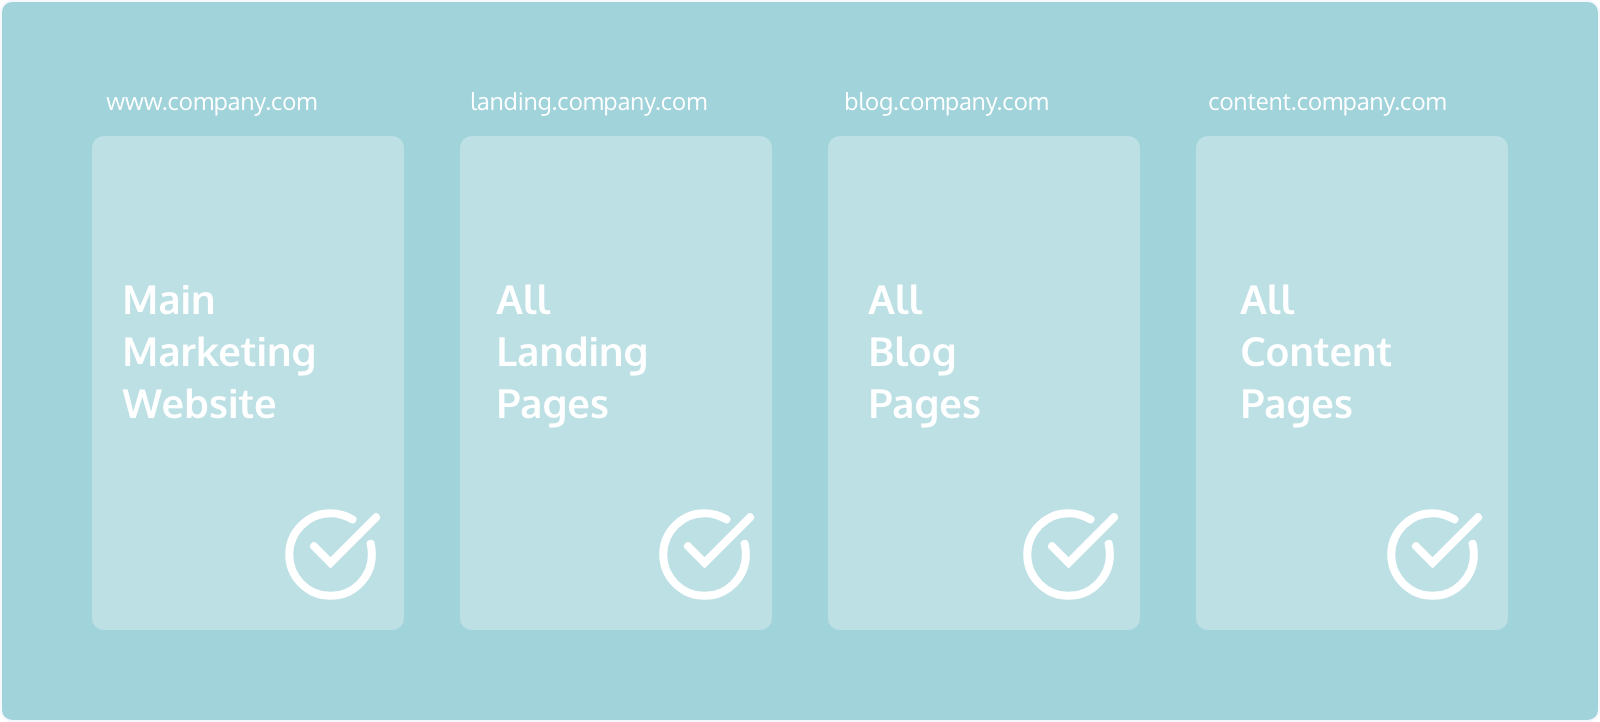
The JavaScript snippet must be placed on every page on your marketing site that you wish to track leads and have conversations. Many companies have a team of web developers who have access to the website infrastructure, and only these folks are allowed to add JavaScript. It's important to note that accurate instructions must be given to install the snippet on all marketing web properties to make sure the system is functioning properly. Consider the following pages on your website which may be running on different platforms or CMS systems:
- Marketing website (usually www.company.com).
- Marketing landing pages (might be running on a landing page service).
- Blogs (which usually run on a separate CMS system).
- Any other web pages served by another app (eg, Marketing Automation).
How to install the JavaScript
For Qualified to function properly, it's important to place the JavaScript snippet on all marketing pages, just before the end of the head section of your website. You can either add this manually to your website, or if you are using a hosting system or other CMS, there is commonly an area where you can paste this into your head section.
Install the Javascript with Google Tag Manager
Qualified supports Google Tag Manager (GTM), but there may be performance or visibility trade-offs.
When possible, we highly recommend adding the Qualified Javascript snippet to the <head> of your website rather than GTM.
If your messenger starts in opened and pinned mode
If your AI SDR agent starts in the Opened and Pinned position, add the Qualified docking script to your snippet. It reserves space for the messenger so your page does not shift when the agent loads, which protects your Cumulative Layout Shift (CLS) score.
The docking script is added alongside the snippet above rather than replacing it, and it has placement requirements of its own. See The Qualified docking script for the snippets and the setup steps.
If you’d like to add the snippet to GTM, there are two potential risks:
- GTM could cause slow load times. In some cases, Qualified may be loaded at the end of the tag sequence, adding up to 10 seconds of load time to your website. This could affect visitors on your site beginning a session or receiving an experience.
- Some third-party ad-blockers may block Qualified. In this case, the user may not receive a Qualified experience or be recorded in Qualified reporting. If your customer base may be highly likely to use an ad-blocker, we strongly recommend adding the Qualified JavaScript snippet to the <head> of your website rather than GTM.
How to install the Qualified Javascript with GTM:
If you would like to use GTM to install the Qualified Javascript, follow the steps below:
- Navigate to your GTM Workspace.
- Select New Tag and name your tag.
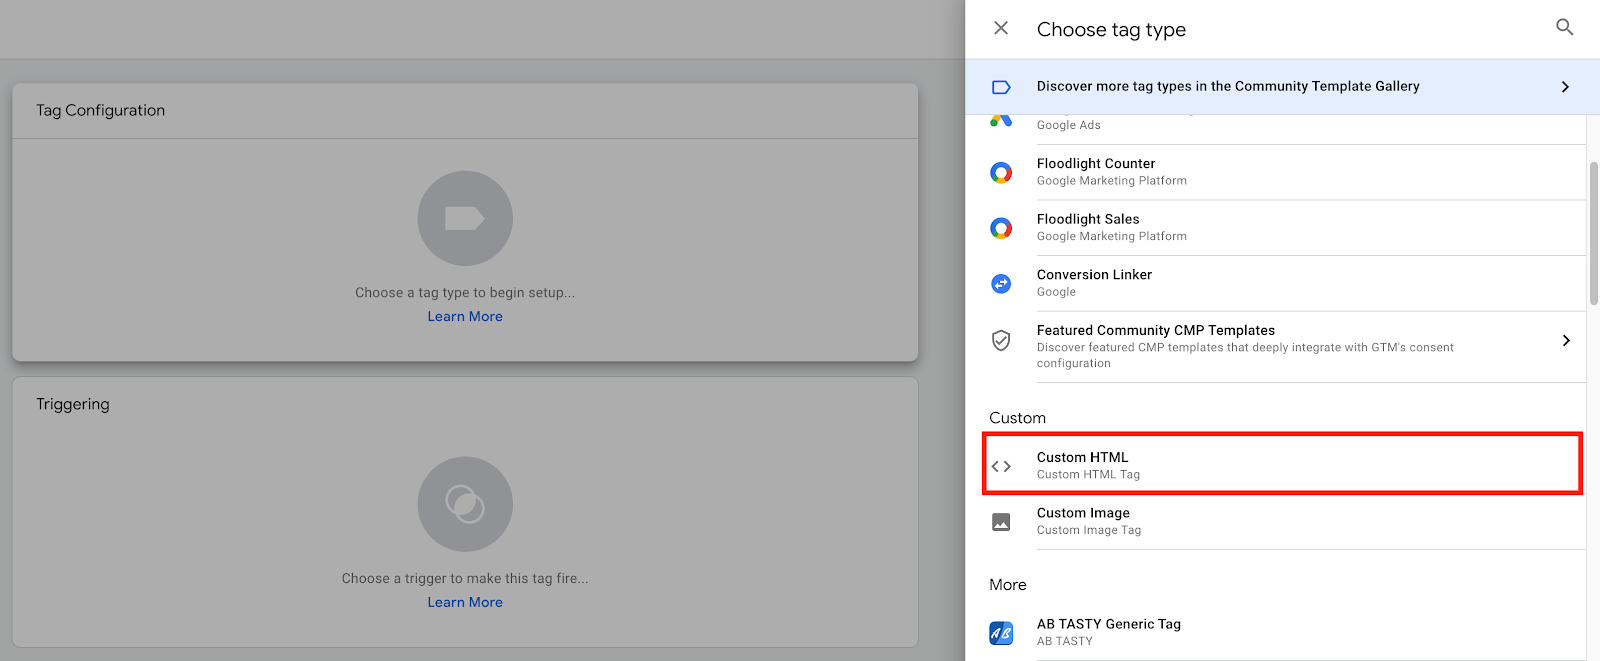
- Select Tag Configuration and find Custom HTML in the right-side menu.
- Insert the Qualified Javascript into the HTML dialog box.
- Click Triggering to select which pages the Qualified Javascript should fire on, then click Save.
- Once saved, click Submit on your GTM dashboard.
If Qualified does not appear after adding the code to GTM:
- You may not have an active experience, leading Qualified to not appear as visible.
- Confirm you have published the tag in GTM.
- Confirm you have applied the correct GTM container to the webpage.
Content Security Policy
If your website runs a Content Security Policy, Qualified's hosts have to be allowed or the JavaScript will be blocked. The recommended approach is to allow qualified.com wildcards rather than listing individual subdomains.
Qualified is actively developed, and the subdomains in use can change as updates ship. An allowlist built from specific subdomains can work when it is configured and then stop working later, with no change on your side.
For the full set of directives, see Configure your CSP to allow Qualified.
Website domain whitelisting
Once the Javascript has been installed, you'll need to add the website domains it has been installed on within Qualified to whitelist them.
- As a Qualified Admin, go to Settings → App Settings → Setup.
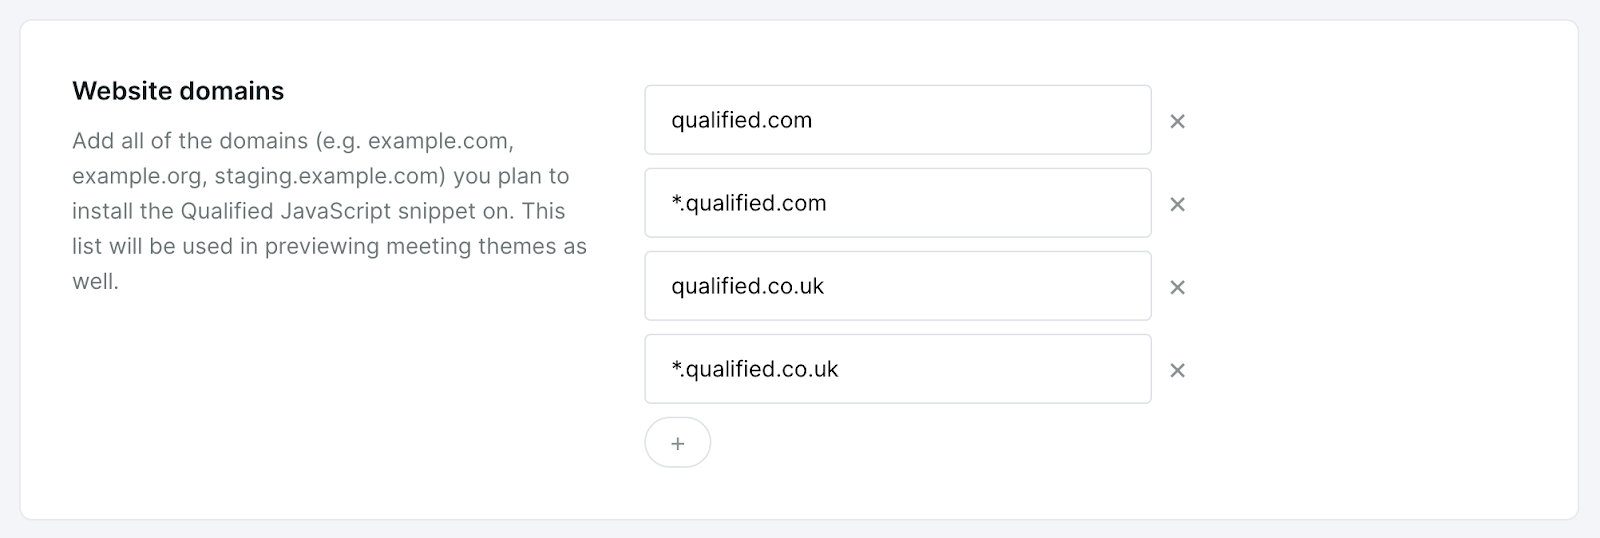
- Click the + icon in the “Website domains” section.
- Add your website domain without the "www" prefix.
- Add your website domain with a wildcard (*) as the prefix. This covers "www" and any subdomains of that domain. It does not cover a second domain.
- Add every other domain you run, each with and without the wildcard. International domains and separate product or company domains all need their own entries.
- Add any staging sites. Staging domains are not covered by your production entries and have to be whitelisted separately.
- If you develop against a local server, add the host and port together, for example localhost:3000. Without the port, Qualified will not run there.
- Once the website domains have been added, click Save in the upper right-hand corner.
Whitelisting takes effect as soon as you save the first domain. From that point Qualified will not run on any domain that is not on the list, so add all of them before you save.
You may also see schedule.qualified.com in the list. Qualified adds this automatically when Personal Meeting Links are turned on, because those links are hosted on that domain.
Live View block list
Qualified allows your reps to directly interact with visitors on your marketing website, but you may want to prevent certain parts of your website, like a web application, from appearing in the Live View while you reps engage with visitors on your website.
- As a Qualified Admin, go to Settings → App Settings → Setup.
- Click the + icon in the "Live View block list" section.
- Add any domains, subdomains, and subpages that you don't want to appear in the live view.
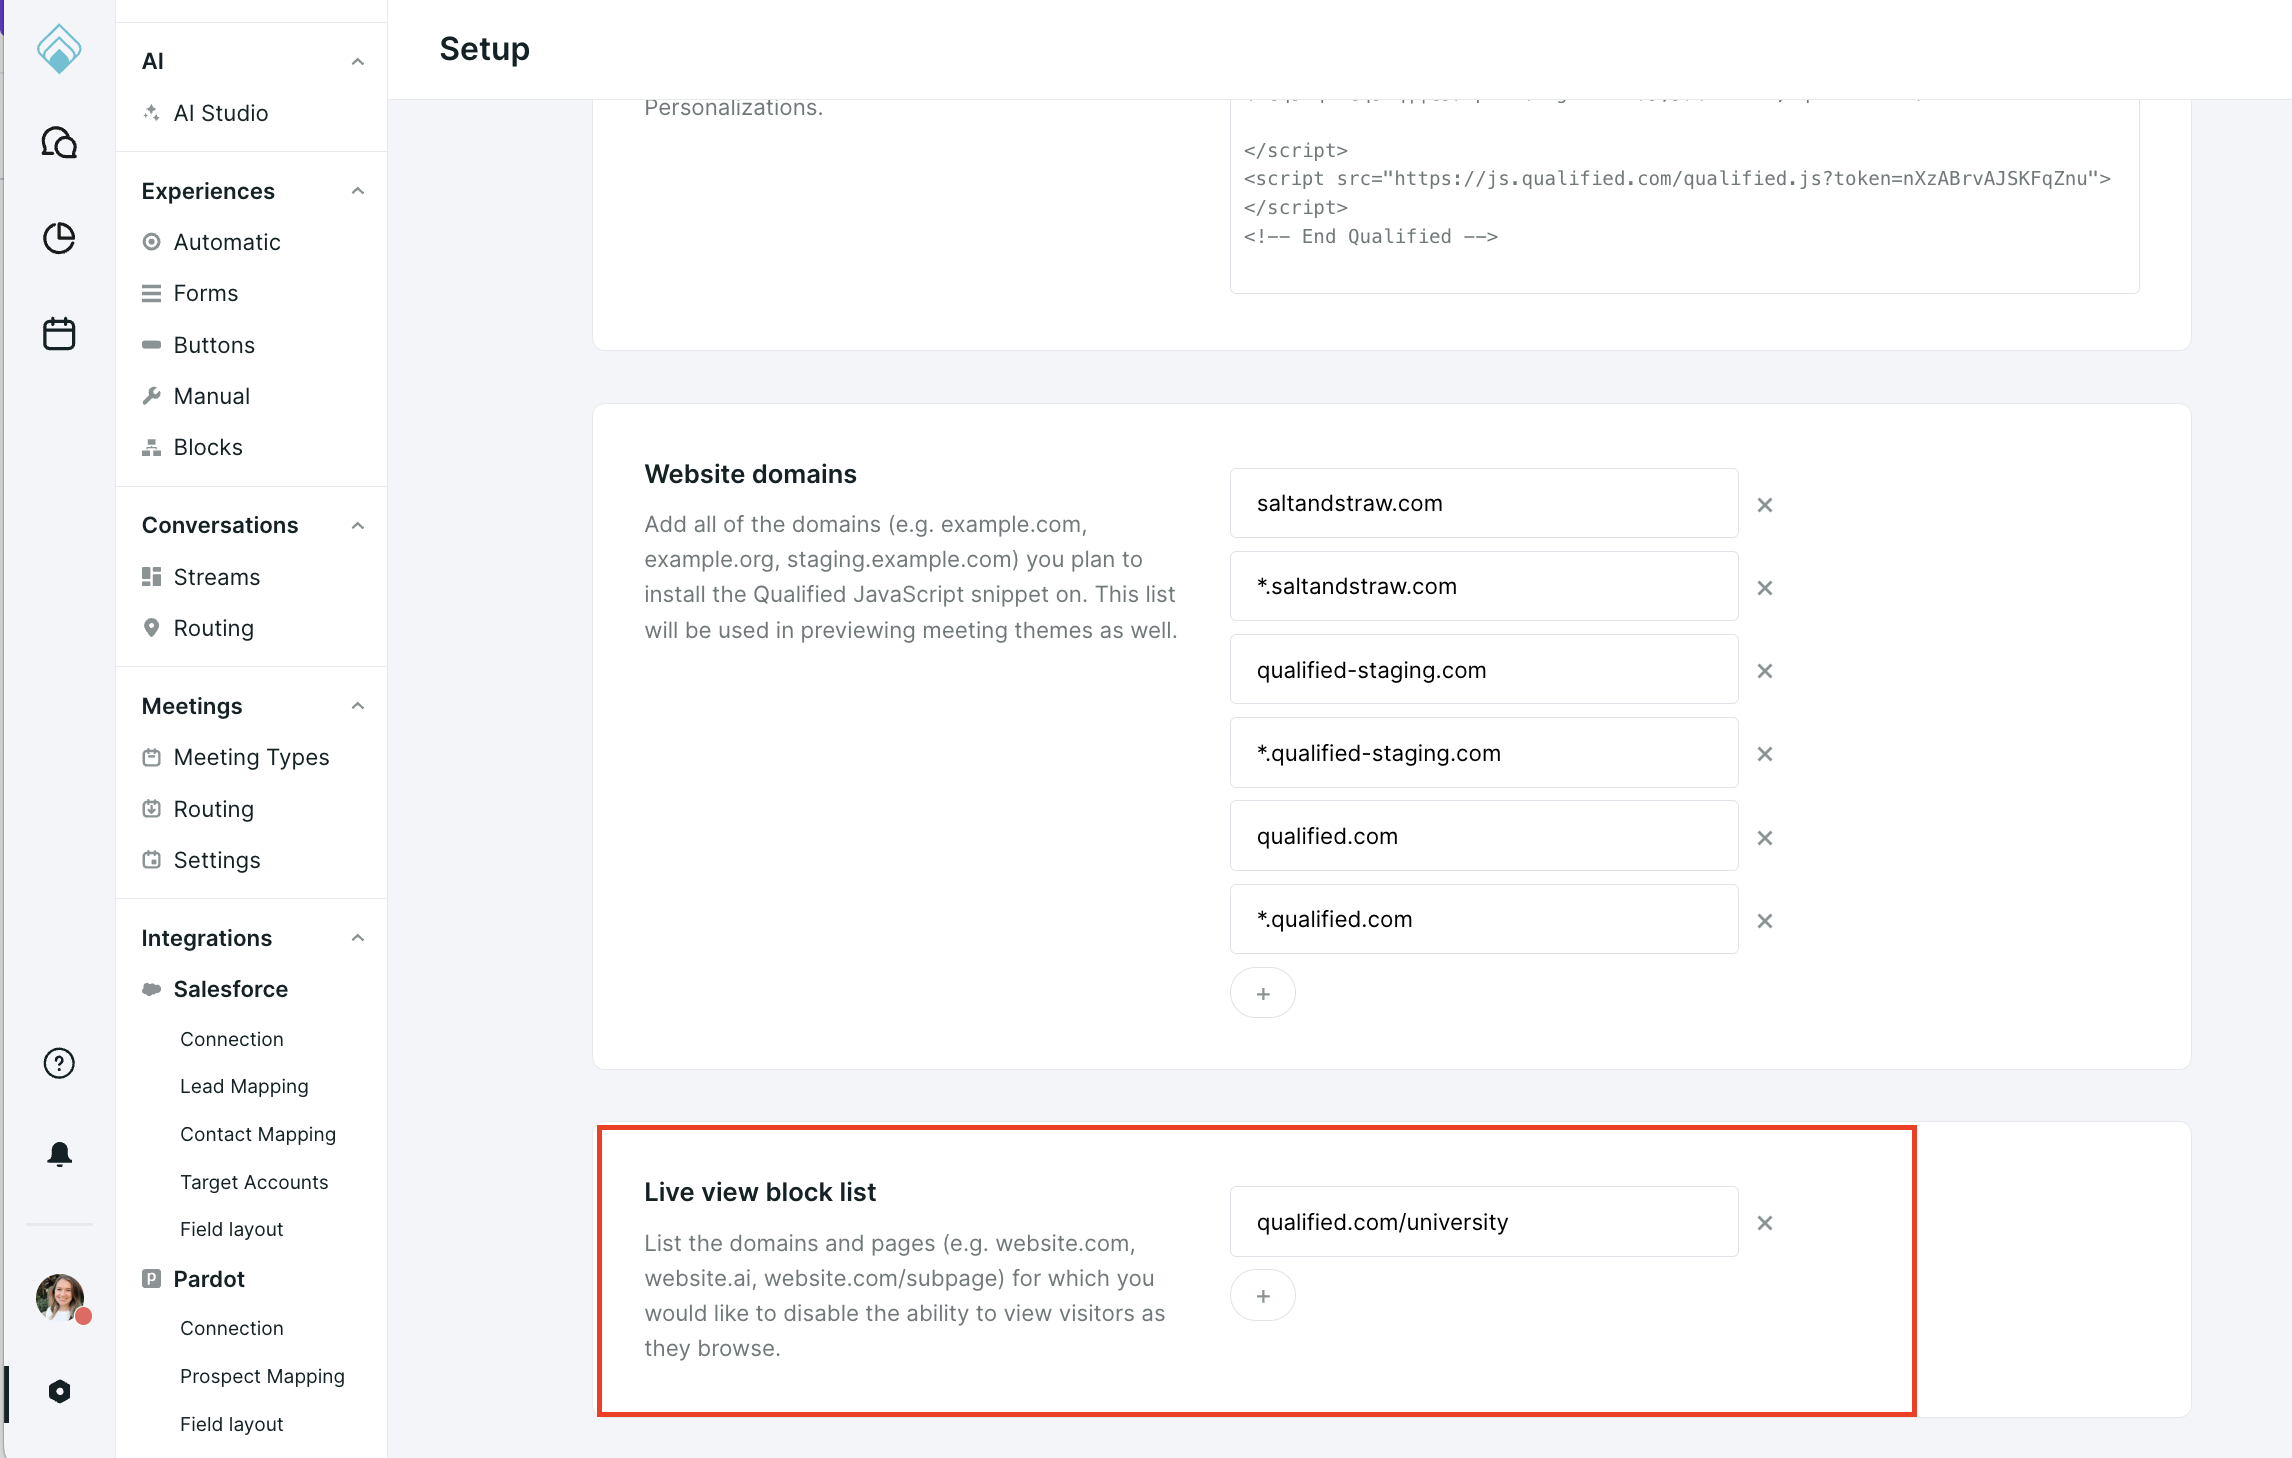
Once enabled, these pages will not appear in the live view of your application.
.png)
Note: If you have a single-page application (SPA), please contact your Qualified Success Architect to support having the live view block list block your application from the live view.
How to test successful installation
You'll know the installation is successful by signing into the Qualified application to see your live website traffic. It's a good idea to do a quick test by opening an incognito window and testing all of the sections on your website, including your main marketing site, landing pages, blog pages, and pages served by other apps, such as content pages. You'll see the visitors, including yourself, on your site.
If you are not seeing visitors on your site or the Live View is showing a blank screen, your team may be using a vendor like Osano to help manage privacy and compliance. If this is the case, work with your team to ensure that the Qualified javascript is allowlisted with that vendor. Add a rule like https://*.qualified.comwith the appropriate status.
Website performance
The Qualified JavaScript fires asynchronously on your website after first content paint, so there will be no (or technically a negligible) performance impact to site load time.
The remainder of the loading sequence also happens asynchronously to serve a personalized experience.


.svg)


