


This guide outlines the steps to configure Single Sign-On (SSO) with JumpCloud for Qualified. Follow these instructions to streamline authentication for your users and enhance security.
Prerequisites
- A JumpCloud Admin account.
- Access to Qualified’s Enterprise Single Sign-on and the Admin user role.
- Your organization’s Company ID from Qualified.
- A basic understanding of SAML 2.0 configuration.
Steps to Configure JumpCloud SSO
Step 1: Set up in Qualified
- Log in to your Qualified Admin account.
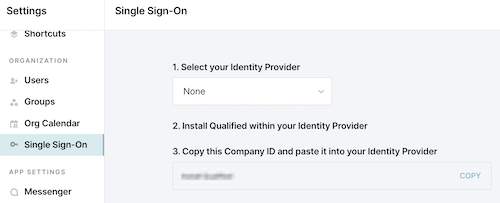
- Navigate to Settings → Organization → Single Sign-On.
- Leave the Identity Provider dropdown set to None.
- Copy your Company ID.
Step 2: Configure in JumpCloud
- Visit the URL https://app.qualified.com/auth/saml/COMPANY_ID/metadata to download the Metadata File.
- Log in to the JumpCloud Admin Console.
- Go to SSO Applications, and click Add New Application.
- Click Upload Metadata to upload the file you downloaded in 1.
- Ensure the Sign is set to Assertion and Response
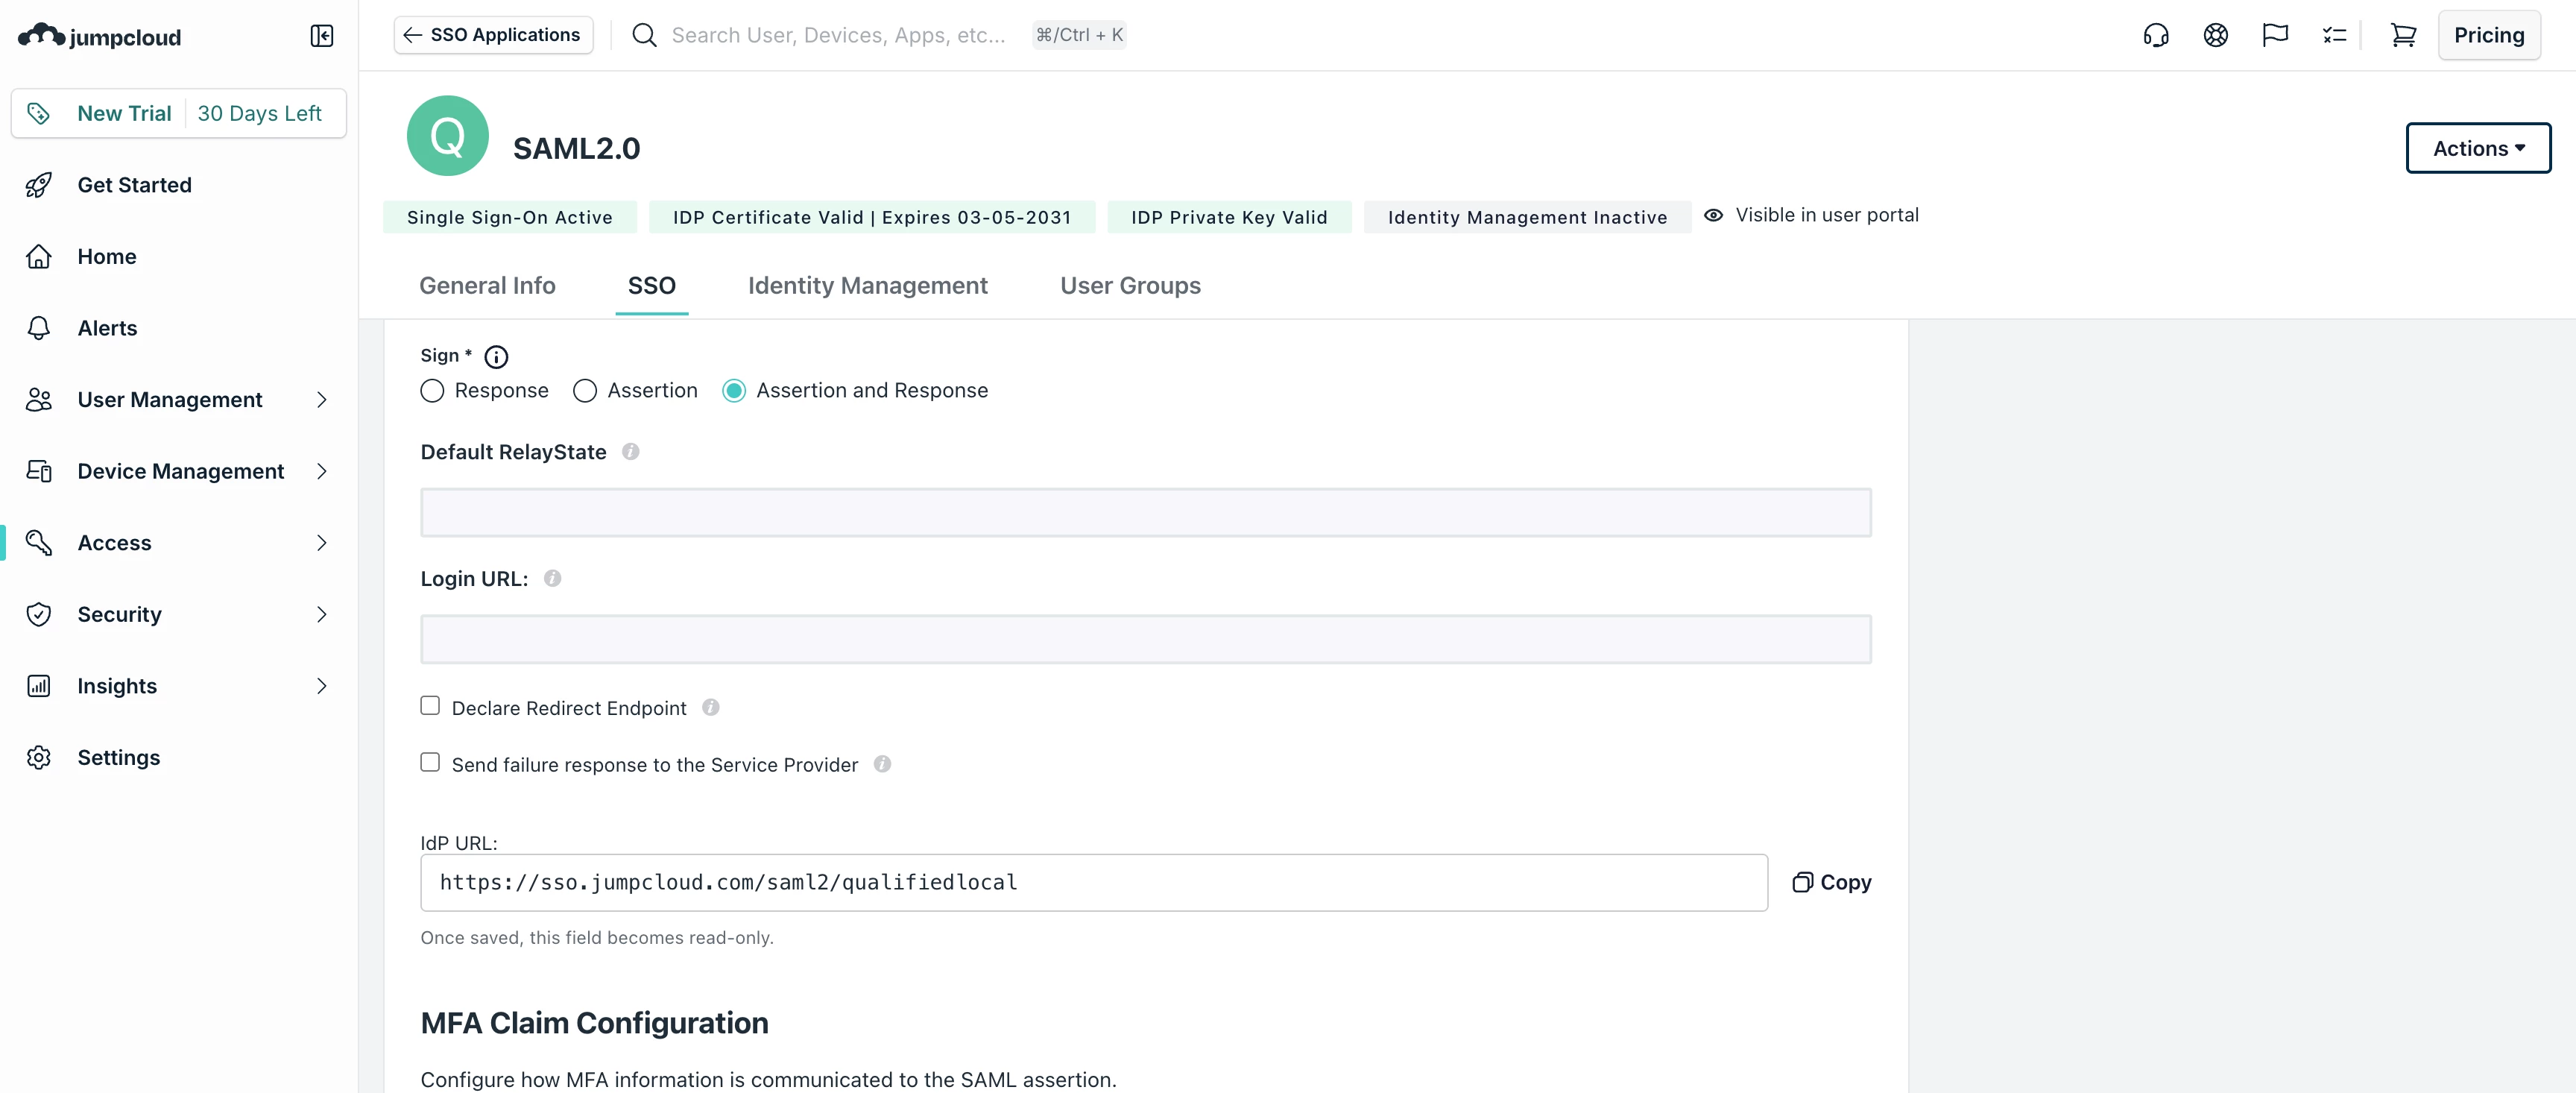
- Set the IdP Entity ID to the Company ID.
- Set the SP Entity ID to https://app.qualified.com
- Set the ACS URL at Index 0 to https://app.qualified.com/auth/saml/COMPANY_ID
- Create three custom attributes with the following details:
- first_name, which points to firstname
- last_name, which points to lastname
- saml_id, which points to username
- Press Copy Metadata URL at the top of the screen.
- Press Save.
Step 3: Finalize SSO in Qualified
- Return to Settings → Organization → Single Sign-On in Qualified.
- Paste the Identity Provider Metadata URL from JumpCloud into the required field.
- Click Save and then Verify Configuration to test the connection.
- Before enabling single sign-on, make sure to assign all existing Qualified users access to the Qualified application in JumpCloud (including yourself) as they will no longer be able to access Qualified with their password once SSO is enabled.
- Existing users will receive an email to bind their accounts.
- When you’re ready, click Enable single sign-on for this org.
Enable SCIM provisioning (optional)
At this time, Qualified does not support SCIM role provisioning with Jumpcloud. While users can be created via SCIM, all users will have the “Chat” role. To use SCIM with Jumpcloud, please coordinate with your Qualified Success Architect (QSA).
SCIM provisioning automates user creation, updates, and deactivation directly from JumpCloud. This step is optional, but highly recommended for efficient user management.
Supported provisioning features
The following provisioning features are supported within Qualified provisioning of SSO users:
- Push New Users: New users created in JumpCloud are automatically created in Qualified. When a user is provisioned, their name and email are synced to Qualified.
- Push Profile Updates: Updates made to a user’s email in JumpCloud are pushed to Qualified.
- Push User Deactivation: Deactiving a user in JumpCloud will deactivate the user in Qualified.
Step 1: Collect your API details in Qualified
- Go to Settings → Organization → Single Sign-On
- Toggle on SCIM Enabled
- Copy the Base URL and API Token
Step 2: Configure SCIM in JumpCloud
- In the JumpCloud Admin Console, open your Qualified application.
- Select the Identity Management tab.
- Click Configure.
- In the Base URL field, paste the url you copied in step 1.
- In the Token Key field, paste the API Token you copied in step 1.
- Click Test Connection.
- Once verified, click Activate.
Binding Email Process for Existing Users
After enabling SSO, all existing Qualified users receive an email from app@qualified.com with a unique binding link.
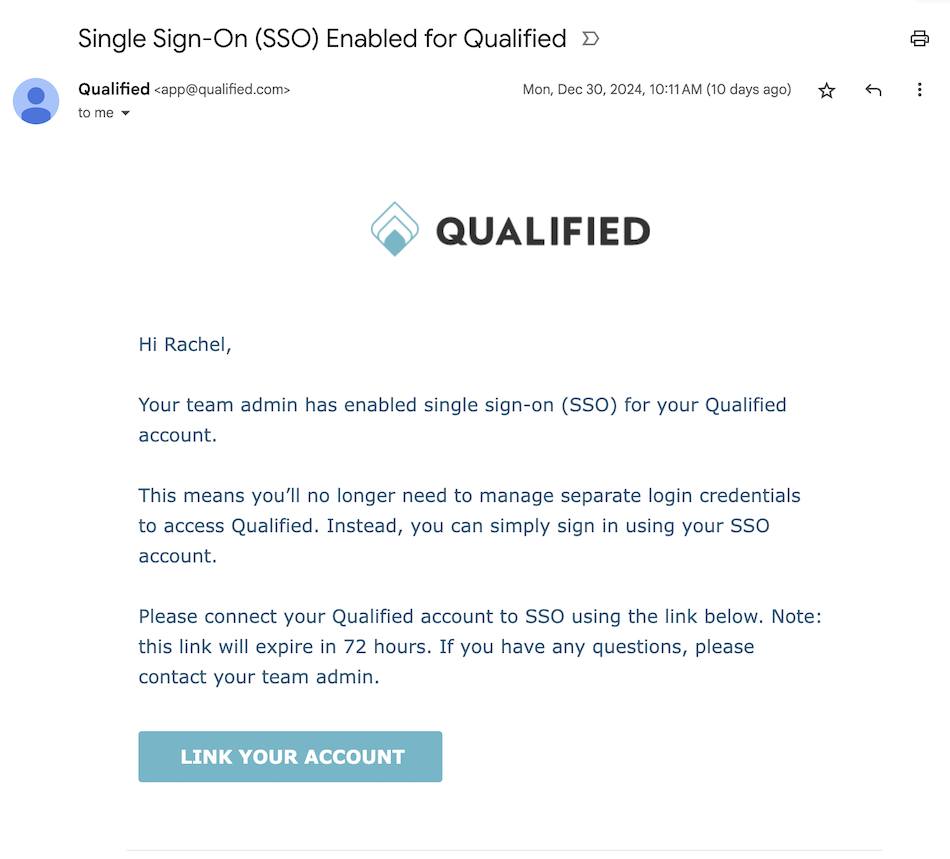
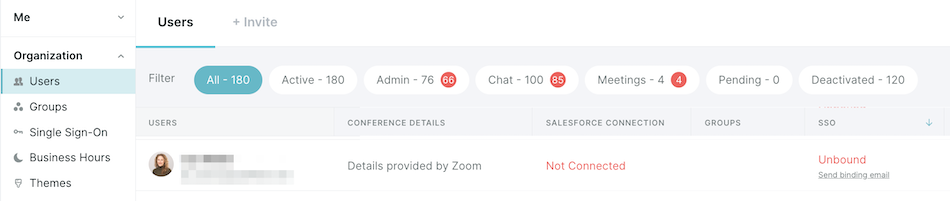
Users must click the link within 72 hours to bind their Qualified account to their JumpCloud Account. If the binding link expires, an admin can resend it from Qualified by going to Settings → Organization → Users.
Adding New Users
With SCIM provisioning
A JumpCloud admin will assign the user to the Qualified application in JumpCloud. The user will be automatically created in Qualified.
Without SCIM provisioning
Simply follow the steps below to add new users to Qualified:
- Assign Users in JumpCloud: a JumpCloud admin will need to assign the user to the Qualified application in JumpCloud.
- Invite Users in Qualified: Invite users from Settings → Organization → Users in Qualified: Provisioning Users in Qualified
- User Accepts Invite: Invited users will receive an email with a button to link their account and access Qualified.
Disconnecting SSO
If you'd like to disconnect your company’s SSO, you can do so at any time.
- Go to Settings → Organization → Single Sign-On
- Click Disable SSO for this team.
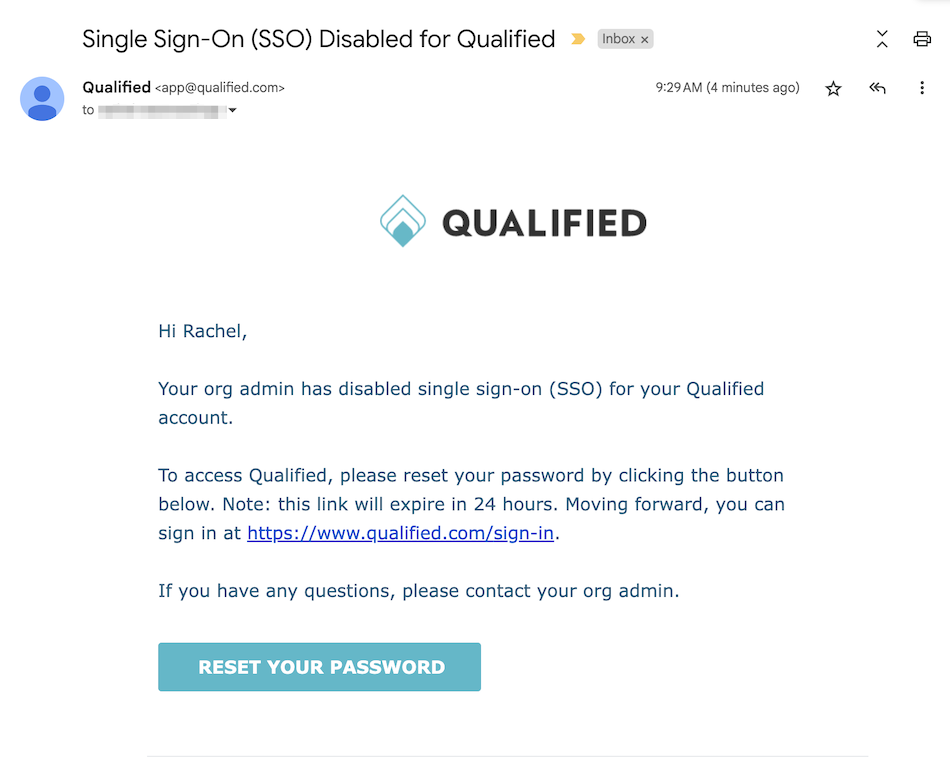
- Users will receive an email to create a new password and log in using their email addresses.



.svg)


