

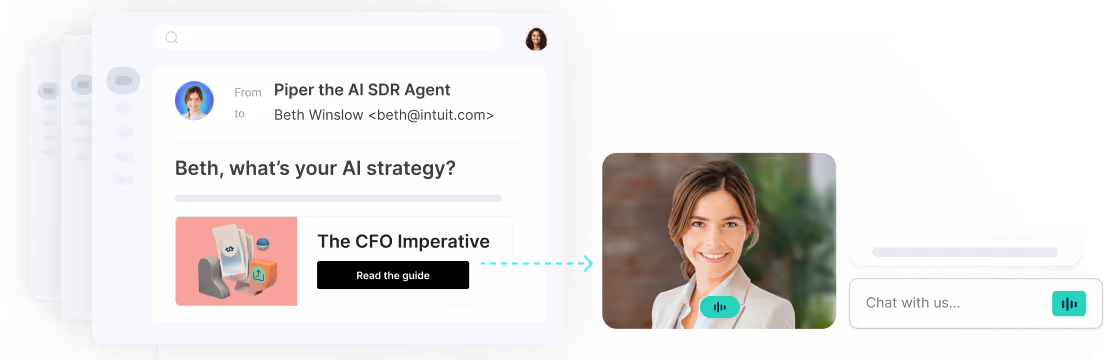
Experiences are the main way your website visitors engage with Qualified. For conversations - whether that’s with an AI SDR agent like Piper, rules-based chatbots with CTAs configured by your marketing team, or your sales teams directly - automatic experiences are the most common type of experience to configure.
What is an automatic experience?
An automatic experience is activated as soon as your website visitor lands on your website. On any page where the Qualified JavaScript is installed, Qualified will evaluate the visitor to determine which, if any, automatic experience they should receive.
Automatic experiences can evaluate several different criteria - including the page the visitor is on, the referrer that brought them there, whether they fit into your ICP or one of your other segments, or even where they’re located geographically.
Automatic experiences can include a lot of different actions, but typically are used to engage website visitors via the Qualified messenger.
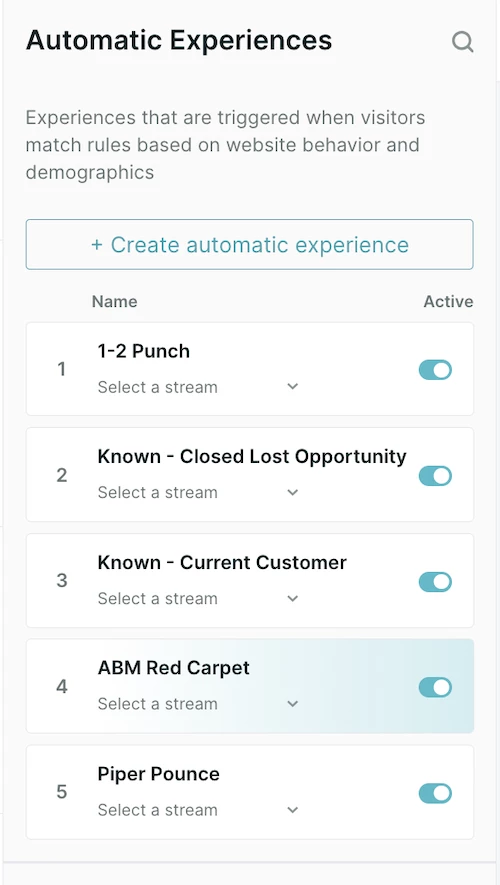
Creating automatic experiences
To create a new automatic experience as a Qualified admin:
- Go to Settings → Experiences → Automatic.
- Click the + Create automatic experience button at the top.
- Add a descriptive name in the Name this experience… field.
- Add the criteria to determine which visitors will be shown this experience.
- Click the Save Experience button in the top right corner.
- Build the experience flow by clicking the + Add Action button under the visitor criteria. Learn more about Experience Build Actions.
Experience priority
Depending on how you’ve set your criteria within your experiences, it’s possible that a visitor might qualify for more than one experience. When this happens, the visitor will receive the experience with the highest priority.
Experiences are ranked by priority from top to bottom, using click and drag sorting. When a visitor lands on your website, each active experience’s criteria is evaluated - from top to bottom. As soon as a visitor meets the criteria for an experience, they will receive that experience and Qualified will stop evaluating.
Pro Tip: Put your most restrictive criteria near the top of your list, with more general experiences lower. This will ensure that specific visitors receive the appropriate experience for them, while anonymous or lower-priority visitors get more generic experiences
Multi-language settings
Automatic experiences can be set in multiple languages. Please note that configuring an experience’s language does not translate any rules-based experience messages or greetings. To configure an experience in a language other than English, use the drop down in the upper-right corner of the experience builder.

For more information about multi-language settings, see below:
- Privacy policy disclosures in multiple languages
- Meetings messaging in multiple languages
- Enabling multi-language for your AI SDR agent
See a full list of Qualified’s supported languages here
If you don’t see the ability to configure multiple languages in your Qualified settings, contact your Qualified Success Architect


.svg)


