

Experiences are the main way your website visitors engage with Qualified. Meetings experiences for forms and buttons allow the CTAs on your website to immediately book time with valuable prospects, while meeting links, the Qualified Live Booker, and the Meeting Booker extension for Gmail let you offer your team’s calendars with the click of a button.
Meeting experiences for forms
Form experiences allow you to connect the forms on your website directly to Qualified. When a visitor fills out a connected form, Qualified can evaluate logic, apply routing rules, and offer qualified visitors an immediate opportunity to book a meeting with the right rep on your team.
Applicable form types
Qualified form experiences natively integrate with major Marketing Automation Platforms (MAPs) like Pardot, Marketo, and Hubspot. If you’re already connected to one of these platforms and your forms are configured there, Qualified can immediately connect to your forms without much additional configuration.
While Qualified does support an integration with Eloqua, Eloqua forms are not supported at this time. If your form is built in Eloqua, see the “Custom Form” instructions.
Qualified also supports forms built in Qualified via Qualified offers.
Finally, Qualified form experiences can be connected to forms built by other platforms with the use of custom code. Code samples are provided in the Qualified form experience builder, but your web team will have to customize the code for your forms. For more information about using custom forms, click here.
Configuring form experiences
To configure a form experience, follow the steps here:
- Go to Settings → Experiences → Forms.
- Click the + Create form experience button at the top.
- Add a descriptive name in the Name this experience… field
- Click Save
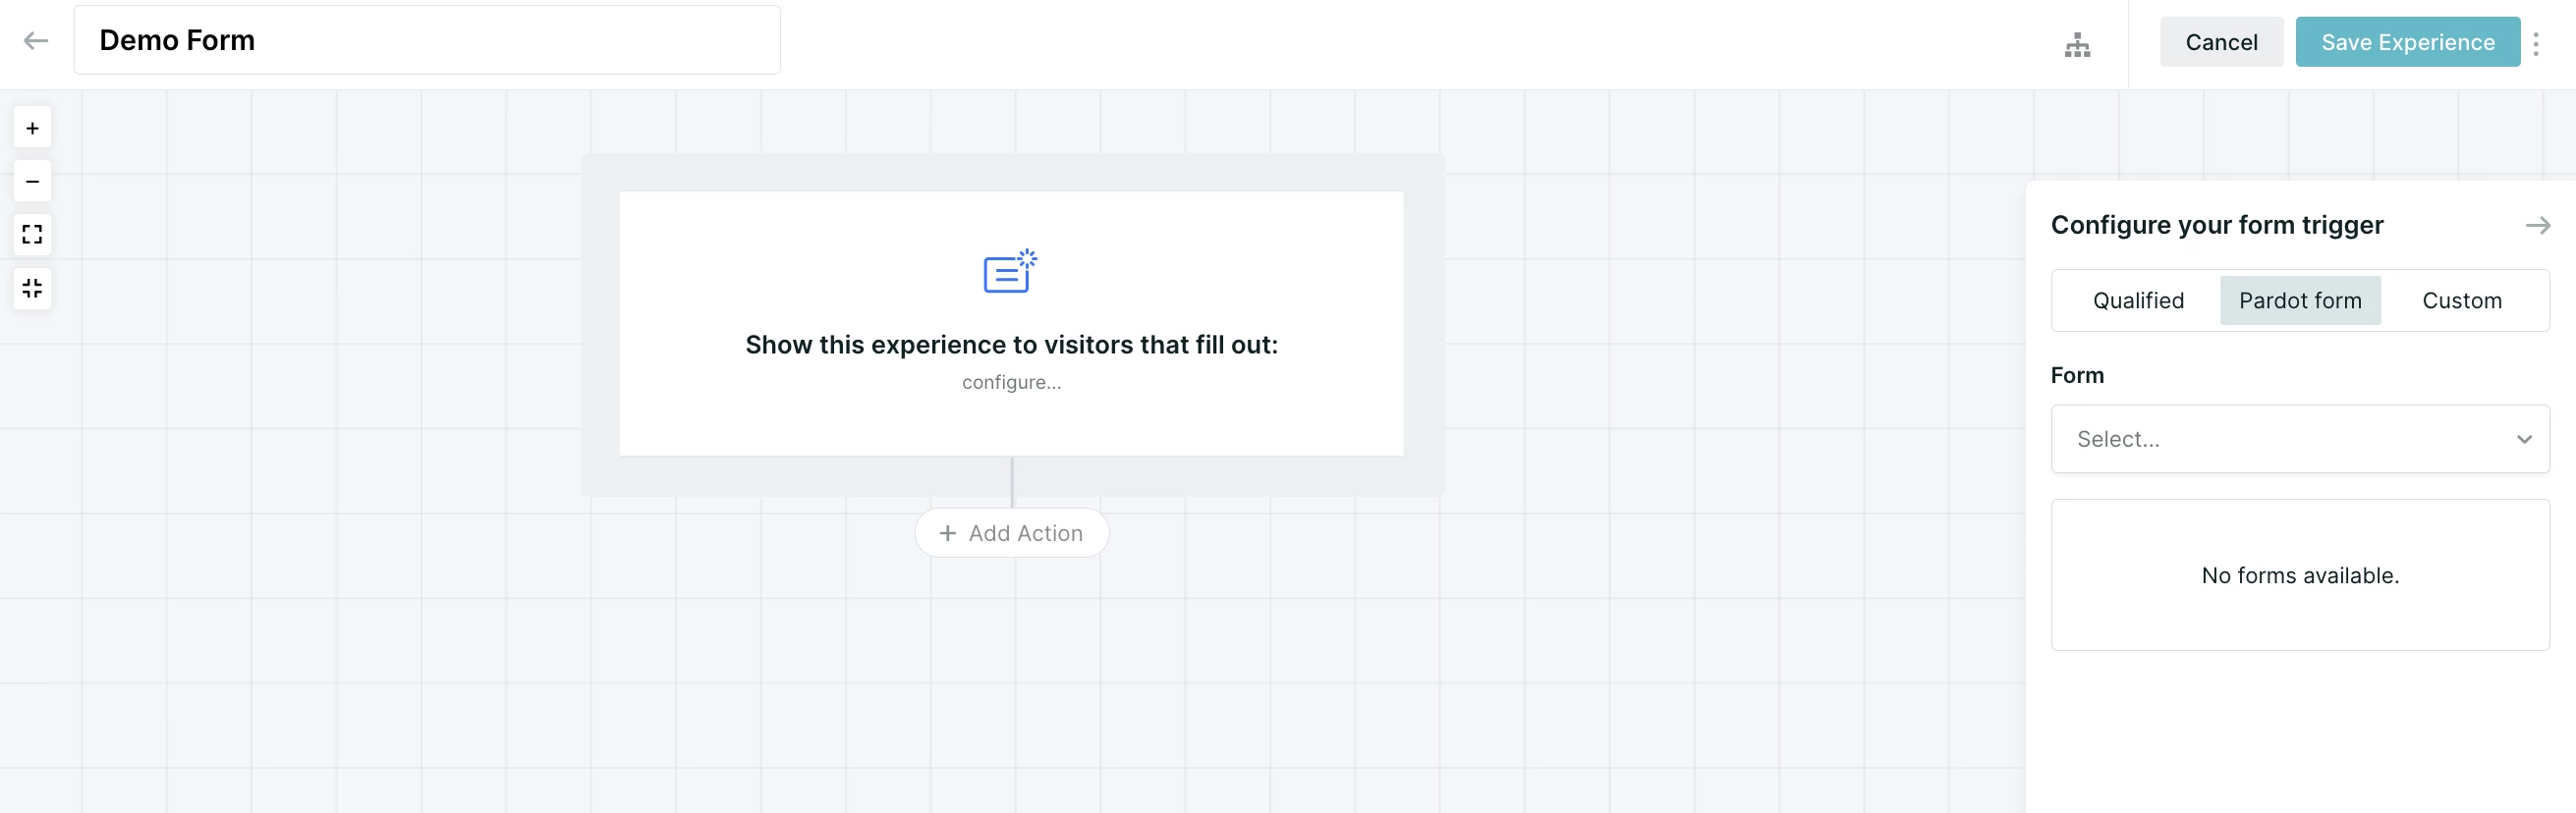
- Click the Show this Experience to visitors that fill out: step at the top of the experience to configure the form.
- Select whether you’re using a Qualified Form (as part of a Qualified Offer), an MAP form (see above), or a custom form.
- If using an MAP form, define your lead configuration
- Don’t wait for MAP lead creation: This is the fastest option, and Qualified’s recommendation. Qualified will instantly recognize and evaluate based on visitor fields in Qualified that are mapped to MAP fields on your form.
- Wait for MAP lead creation: Qualified will wait up to 3 seconds for lead creation before continuing. Use this option if you are routing based on fields that are not a part of the form being filled out, but configured in your MAP.
- Also wait for Salesforce lead creation: This will wait for a lead to be created in Salesforce based on the form submission. This takes the longest, but will allow routing based on Salesforce-only information like lead owner.
- Build your form experience. Select the experience actions that will engage your visitor.Meeting Experiences for Buttons
Creating new Button experiences
To configure a button experience, follow the steps here:
- Go to Settings → Experiences → Buttons
- Click the + Create button experience button
- Add a descriptive name in the Name this experience… field
- Click Save
- Click the Configure Buttons… step at the top of the experience. This will open the Smart Selector to select the button(s) that will trigger the experience.
- Build your button experience. Select the experience actions that will engage your visitor.
Using the Qualified Live Booker
The Qualified Live Booker allows you to instantly create a meeting between a prospect and a rep on your team.
Learn more about the Qualified Live Booker here.
Unlike other meetings experiences, the meeting is created and booked directly within Qualified by an admin or meeting user, or within Salesforce.
Using the Qualified Meeting Booker Chrome extension
The Qualified Meeting Booker Chrome Extension lets you send your calendar availability directly via Gmail. Insert time slots directly into the body of your email with just a few clicks. For more details, click here.
The Qualified Meeting Booker Chrome Extension currently only works for users with the Chrome browser and Gmail
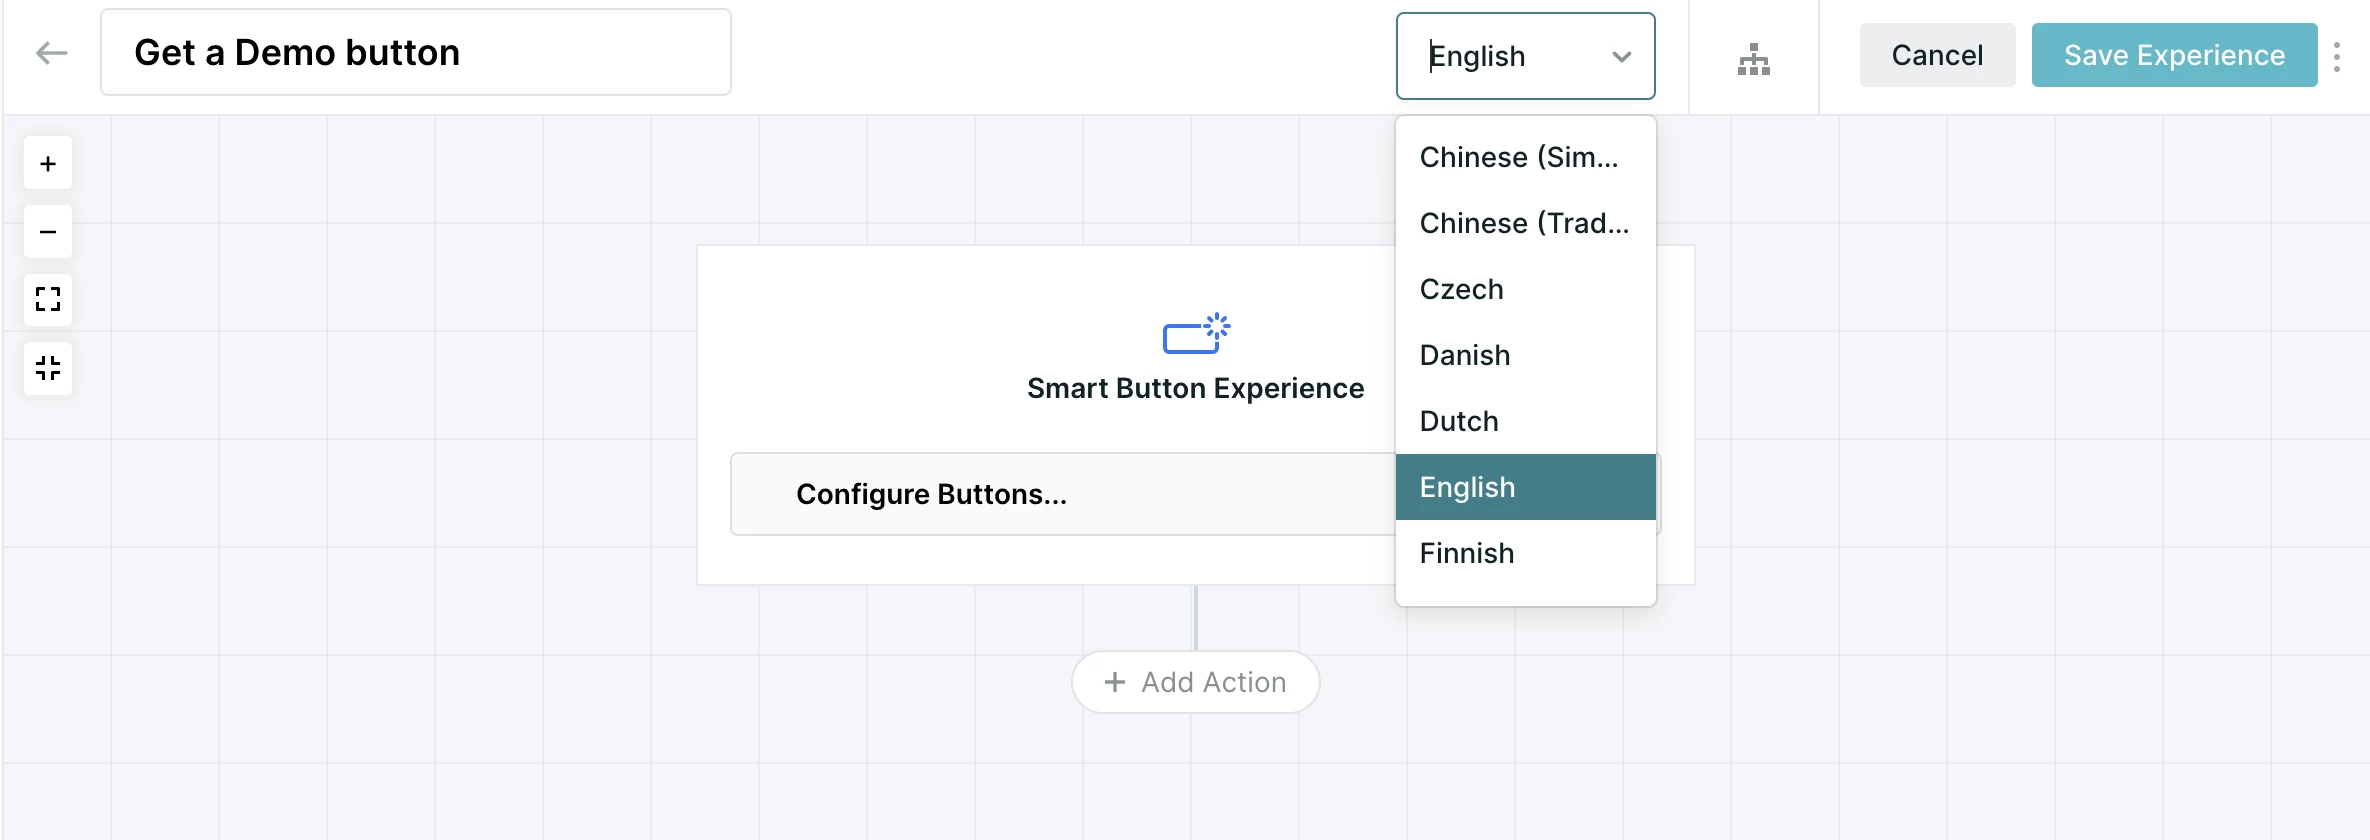
Multi-language settings
Meetings experiences can be set in multiple languages. Please note that configuring an experience’s language does not translate any rules-based experience messages or greetings. To configure an experience in a language other than English, use the drop down in the upper-right corner of the experience builder.
For more information about multi-language settings, see below:
- Privacy policy disclosures in multiple languages
- Meetings messaging in multiple languages
- Enabling multi-language for your AI SDR agent
See a full list of Qualified’s supported languages here
If you don’t see the ability to configure multiple languages in your Qualified settings, contact your Qualified Success Architect


.svg)


